Tutorial: Structure Tasks
Objective
This tutorial is intended to show first-time users how to structure tasks in PLANTA project.
Please note:
The screen shots used in this tutorial are mere examples of functions and may differ from the actual layout in the program.
Procedure
Log in with user R41.
Open the Schedule module.
The following query is displayed: Adopt a schedule?
Answer the query with No.
Open the context menu by right-clicking on the project line and select the Insert → Task entry.
Enter a name for the task in the Task name field.
Save.
Insert further tasks as shown in the image below.
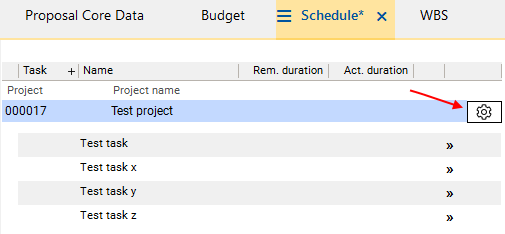
Click on the
 Generate WBS code button below the project bar to generate the WBS code.
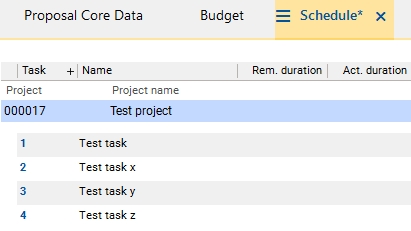
Result: The WBS code is assigned to the tasks and is displayed in the Task column. Since the tasks have not been structured yet, this is only done by ascending numbering.
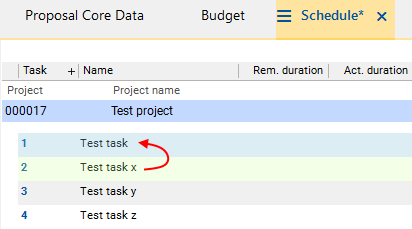
Task x is to be subordinated to Test task.
For this purpose, drag Test task x on to Test task with the left mouse button while holding SHIFT.
As a result, Test task x (source task) is visualized green and Test task (target task) is visualized blue.
Release the left mouse button as soon as the cursor is on Test task. Test task x is moved below Test task.
Test task y is to be subordinated to Test task as well and is to be positioned below Test task x.
For this purpose, drag Task y on to Task x by pressing SHIFT and holding down the left mouse button.
A dark blue line is displayed. Pay attention to the line's position. It is to be positioned at the bottom of Test task x and its starting point is to be equal to the starting point of Test task x.
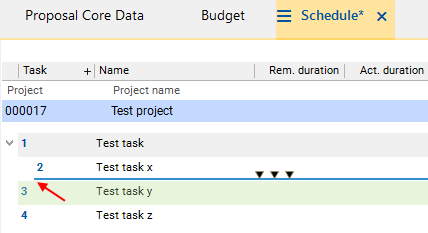
Result:
Test task x is now subordinate to Test task.
Test task y is also subordinate to Test task and has been positioned below Test task x.
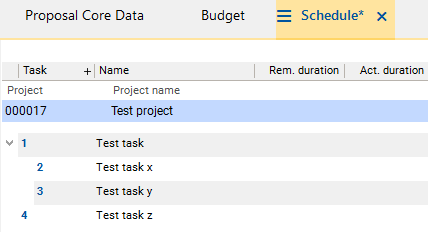
Save and click on the
 Calculate schedule button in the toolbar.
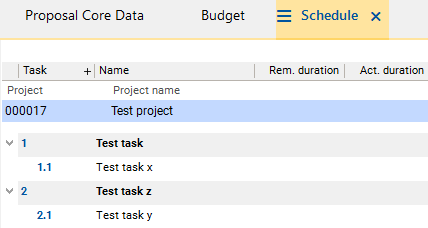
As a result, the WBS code is refreshed in accordance with the predefined structure.
The parent Test task is marked bold and therefore visualized as a summary task.
A summary task is a task in the structured schedule consisting of sub-tasks which are summarized here. Information on the summary task, such as duration and dates, is determined automatically from the sub-tasks.
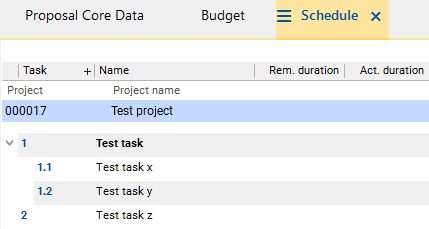
Switch to the WBS module by clicking on the tab of the same name in the Project panel.
Here, the structure created in the Schedule module is displayed graphically.
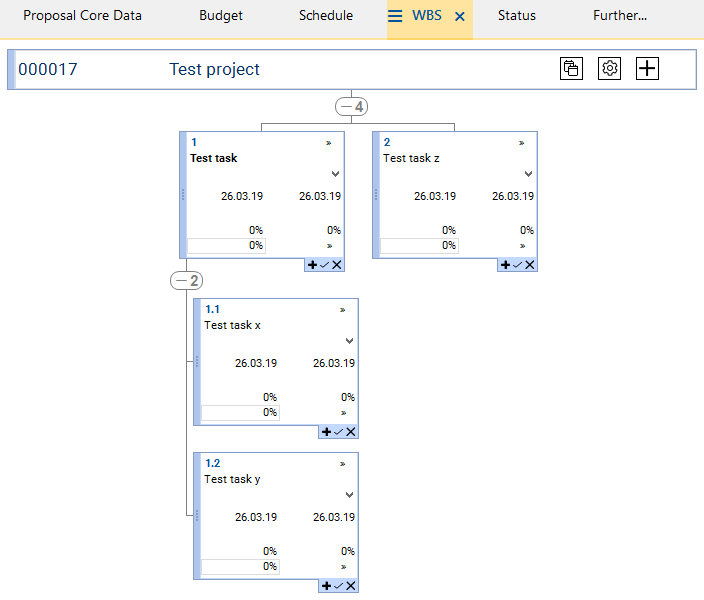
The structure is to be changed: Test task y is to be subordinated to Test task z.
For this purpose, position the cursor on the left margin of Test task y: A hand symbol is displayed.
Hold down the left mouse button and drag the box to the box of Test task z. Release the left mouse button over this box.
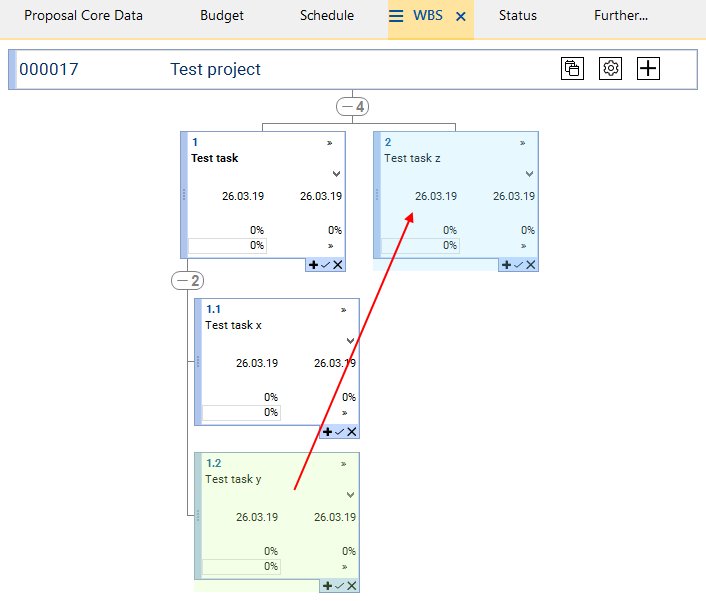
Result: Test task y is now subordinate to Test task z. However, the old WBS code is still displayed.
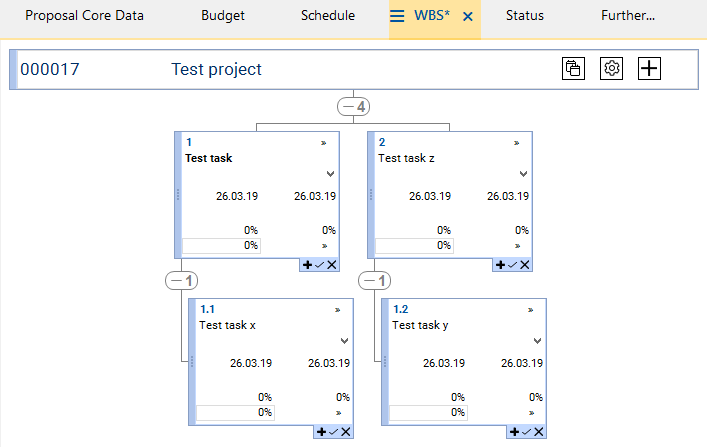
In order to update the WBS code, click on the
 Create WBS code button.
Result: The code has been changed according to the new structure.
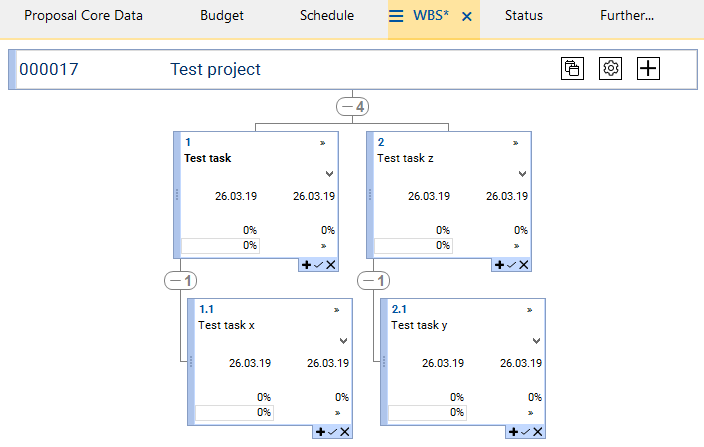
Return to the Schedule module in the Project panel. Click on the Update/reset and
 Calculate schedule menu item symbols in the toolbar. The new structure and the new WBS code become visible and Task z is visualized as a summary task as well. Result:
